Athletica.ai Review - Part 3

I’ve now been using Athletica for a few months. While the indications I see on form via intervals.icu are nothing but positive, I reckon the proof will be in performance on the ground in the New Year’s Day ’10’ - about 6 weeks away. Here's a banner from Athletica, proclaiming "Train Smarter, not Harder". Does the app live up to that billing? Read on...

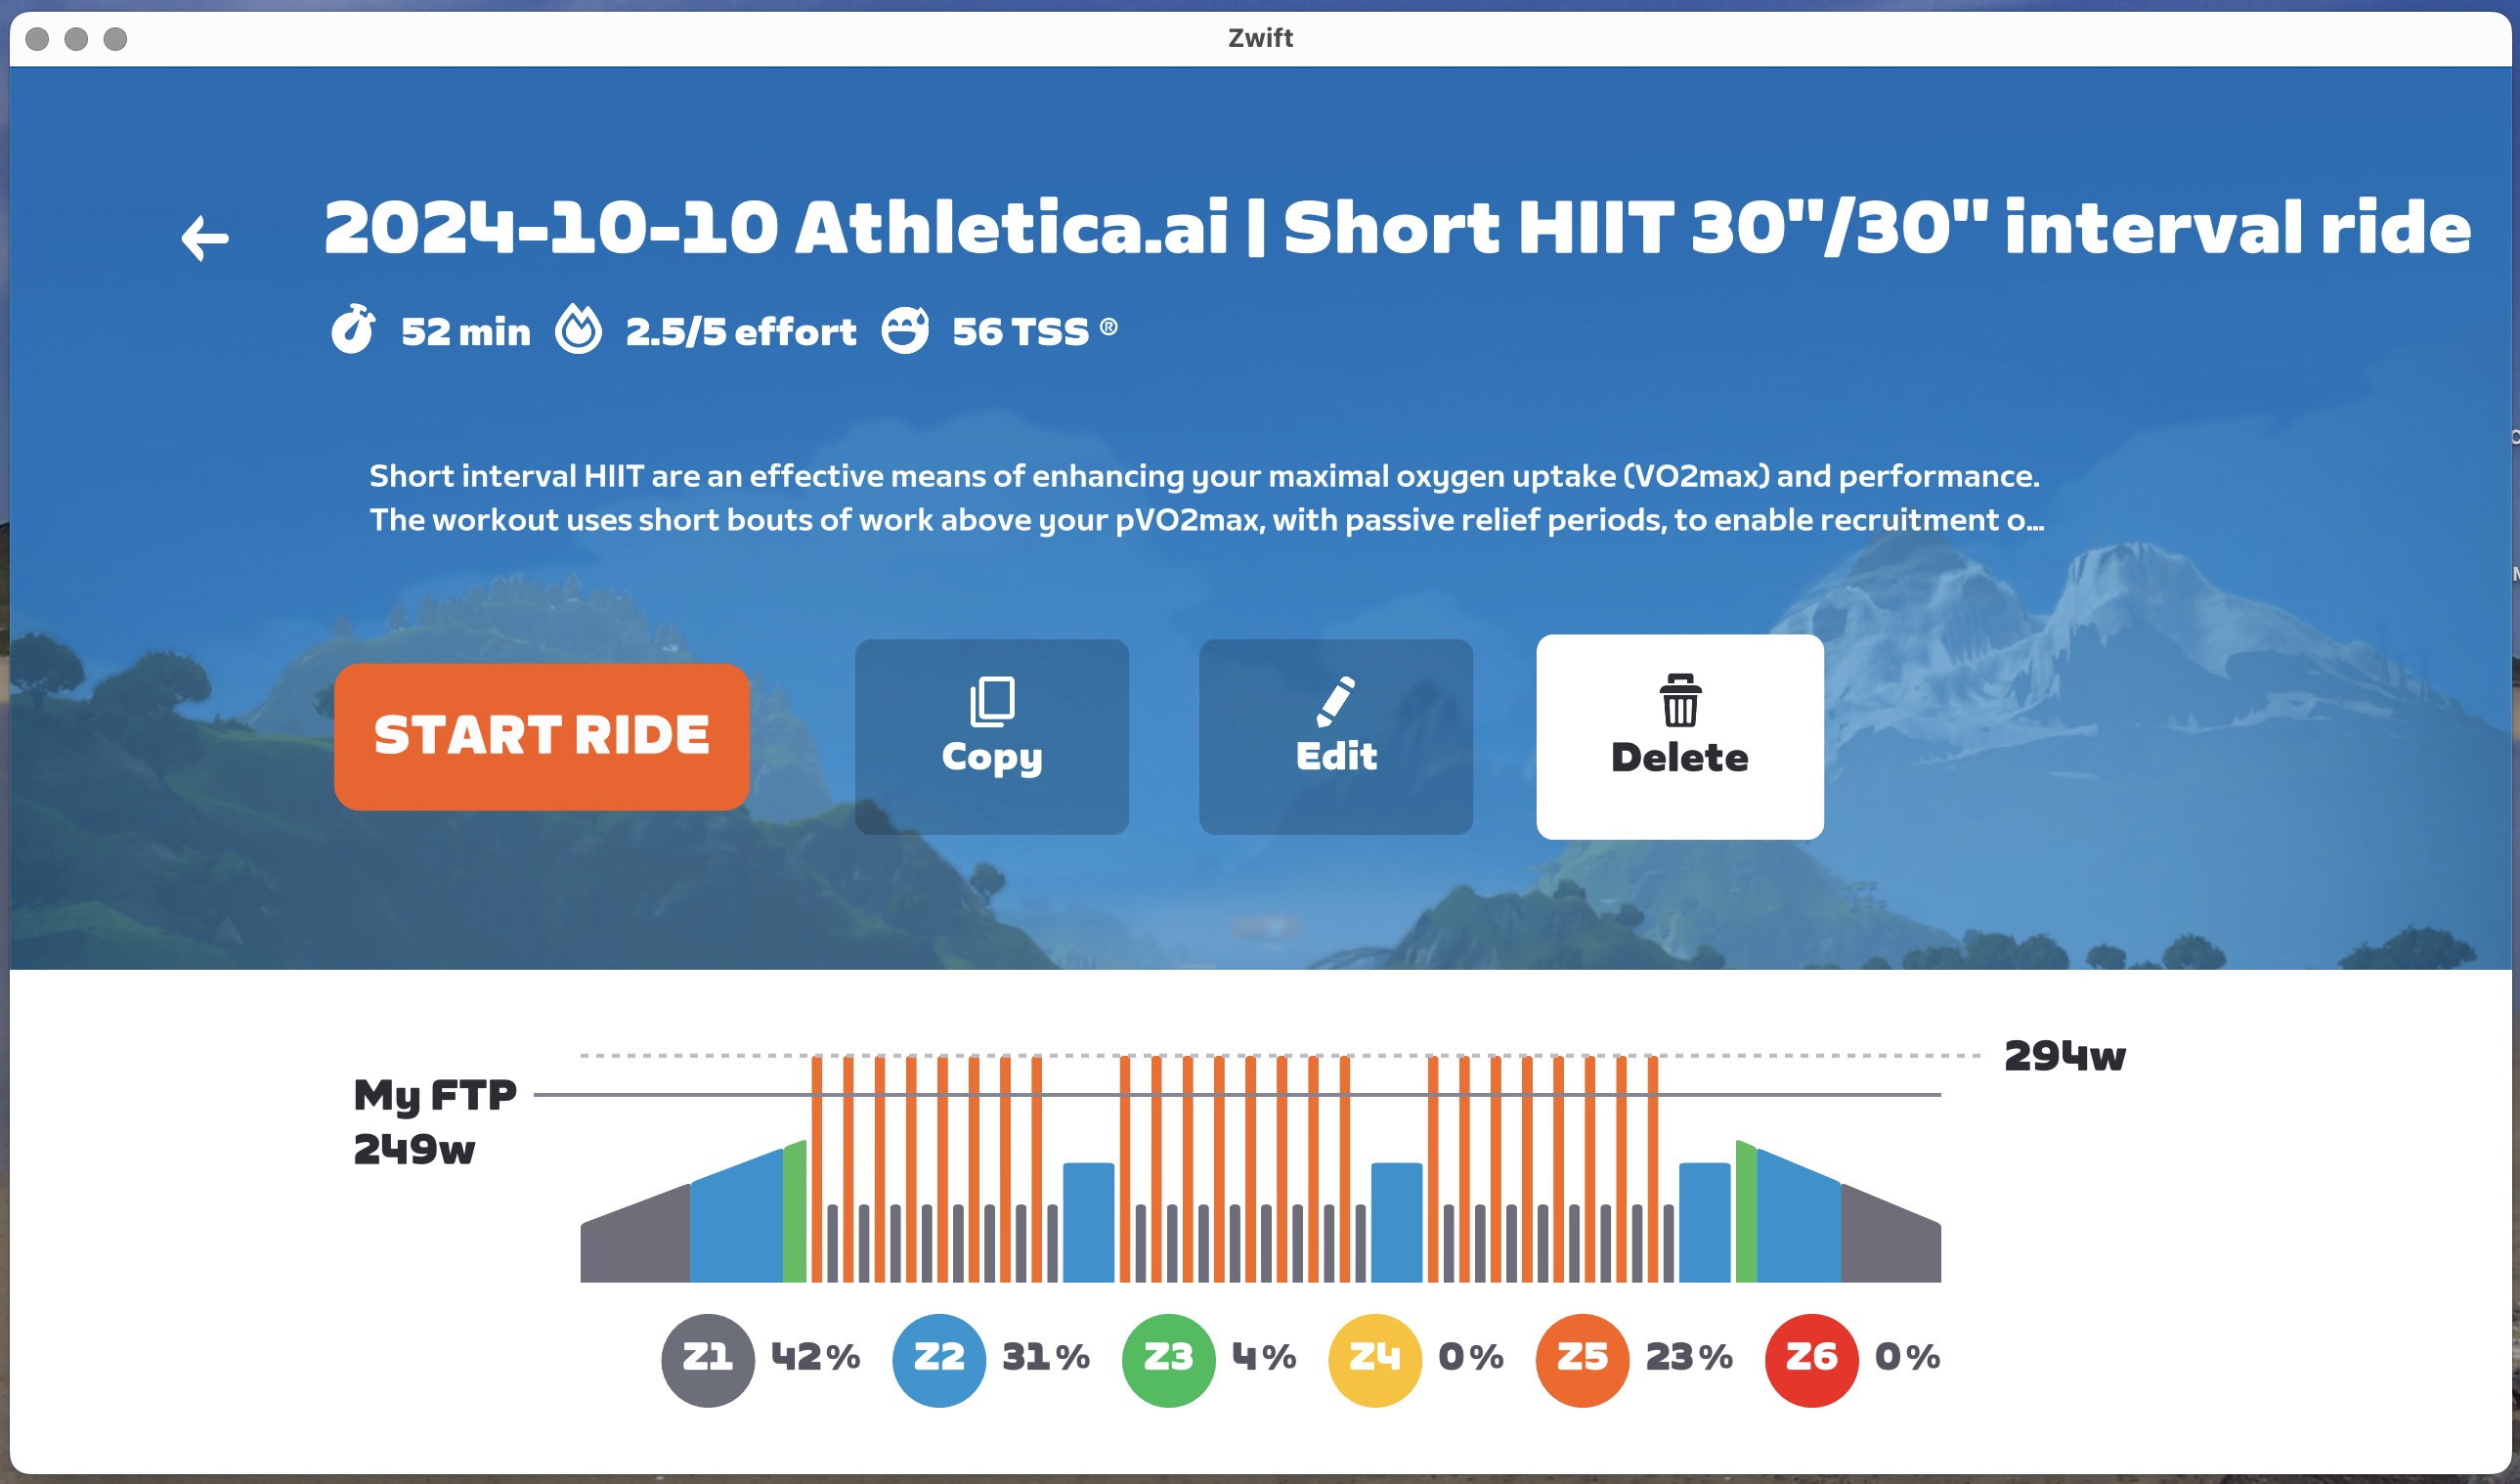
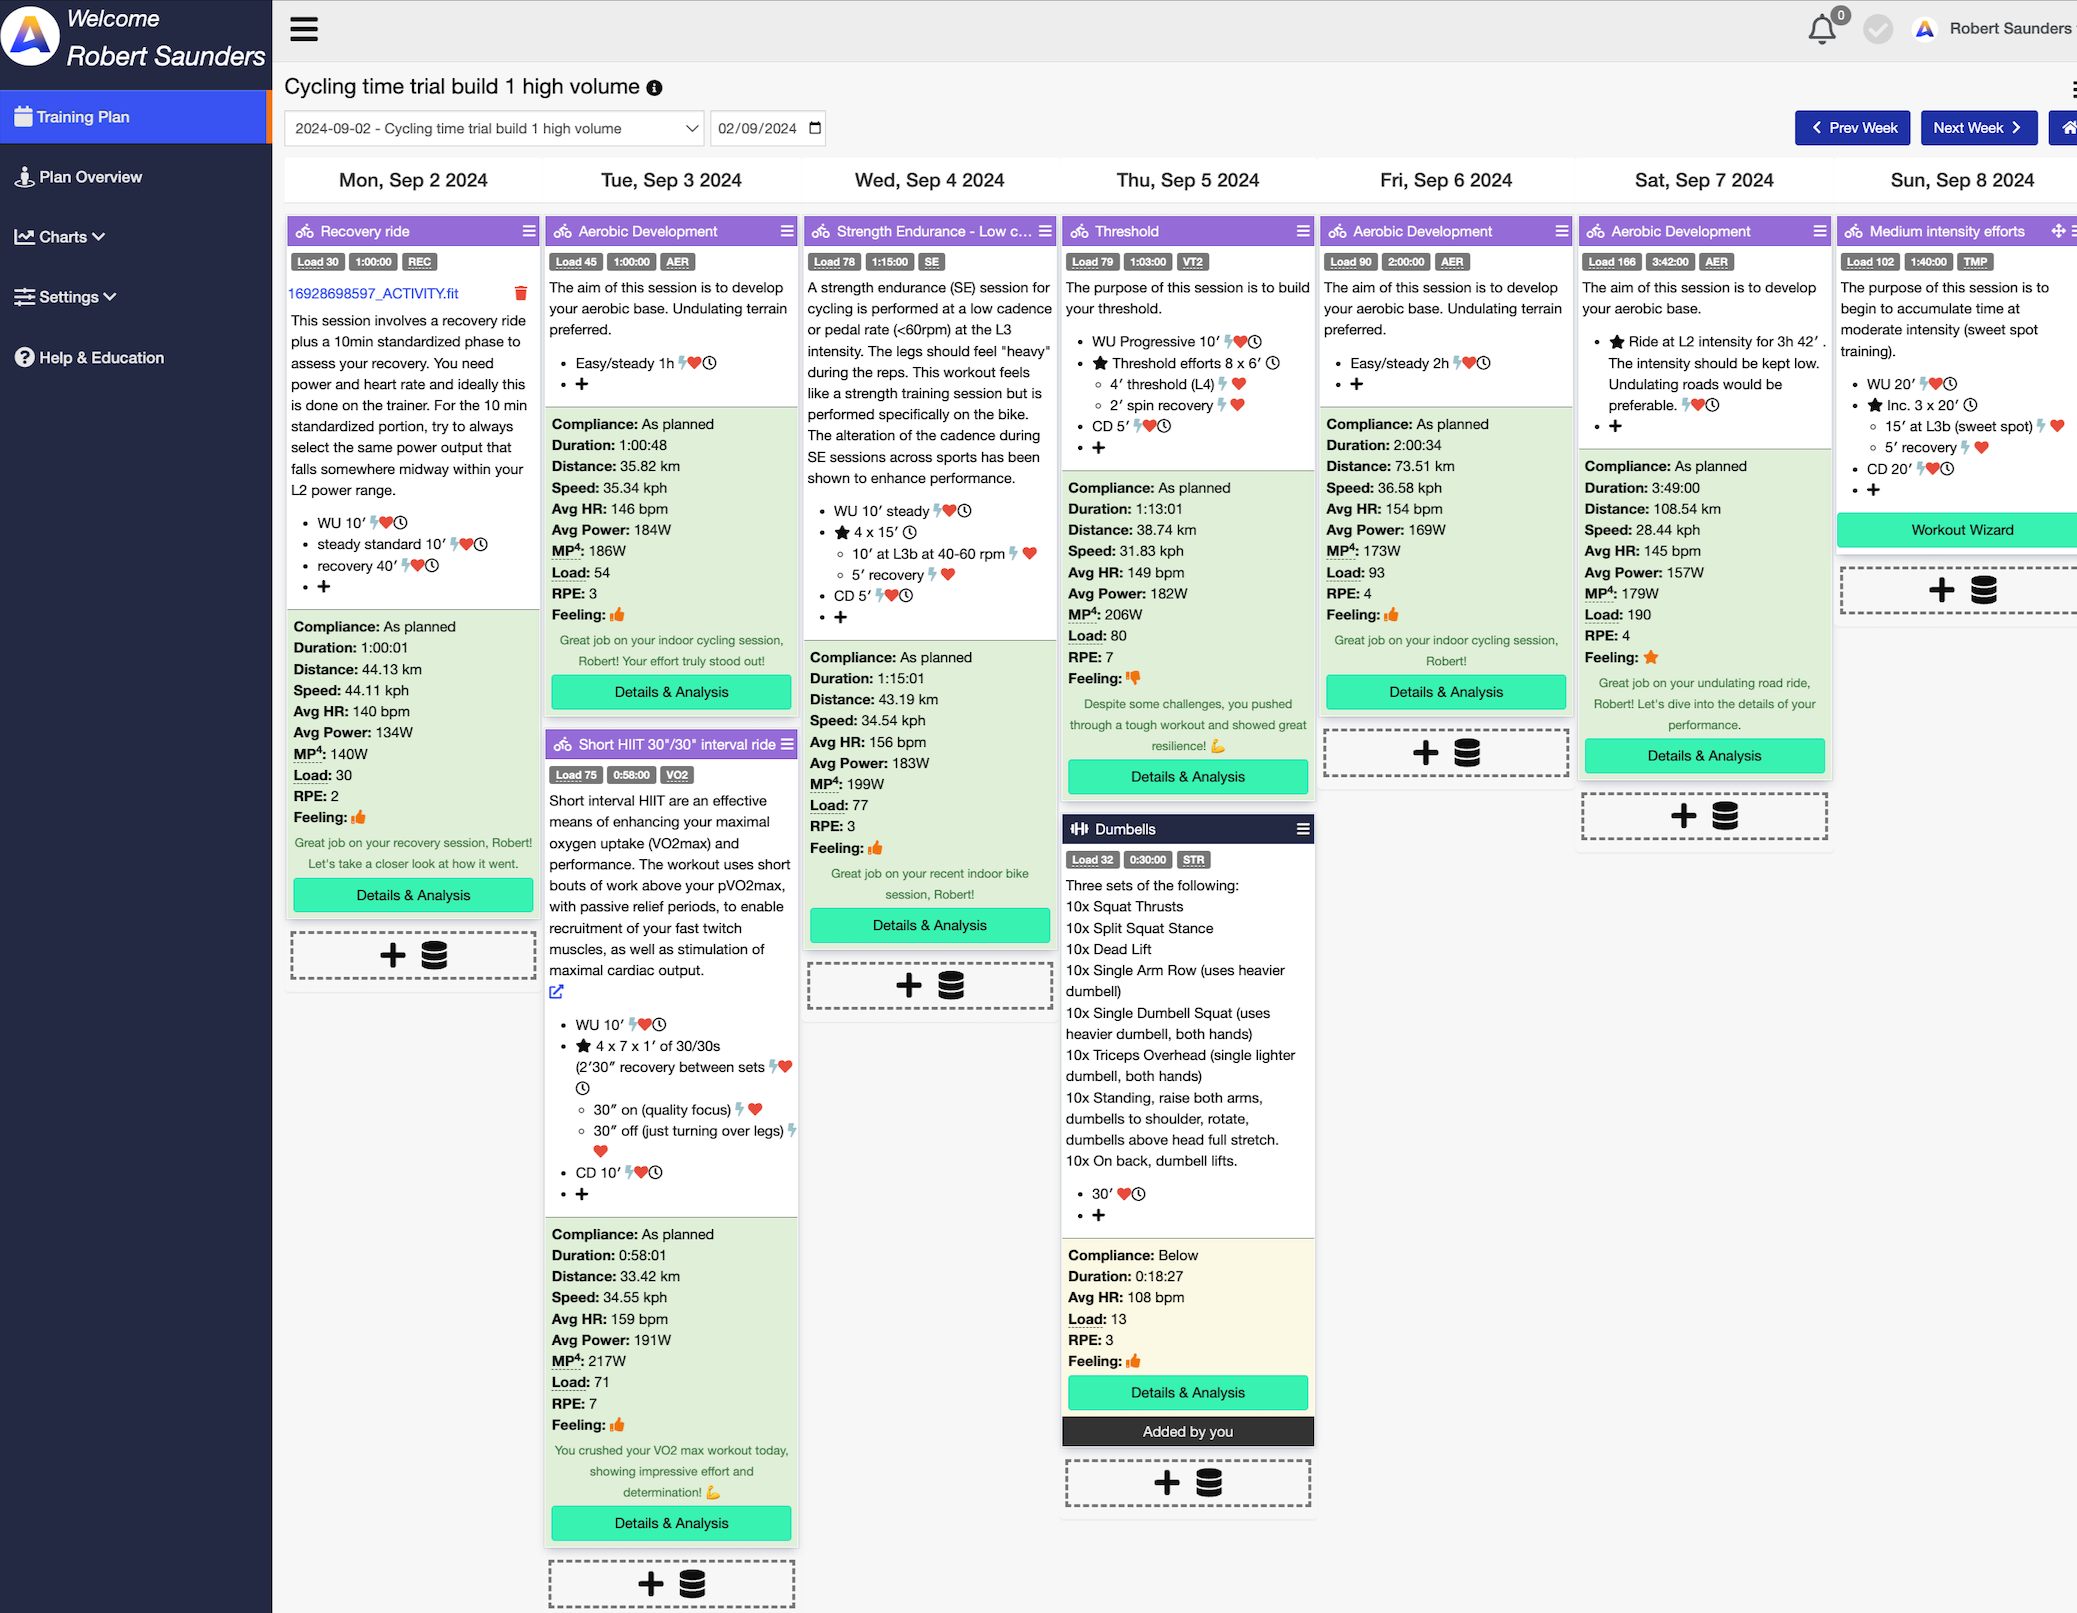
The whole training plan seems rooted in science - every so often I see a link to a publication or at the least an athletica blog article. This makes the app seem much less of a black box than, for example, TrainerRoad. There is a regularity about the training plan: each week has a recovery session; a 30:30 short HIIT session; a Threshold session of 4m intervals set at several watts above threshold; two tempo/sweetspot sessions, one of which is at higher gear/lower cadence as a strength training session. Interspersed are endurance sessions, often long enough that I’d prefer to do them outdoors. I’ve also noted that while I sometimes struggle to complete sessions (particularly the Threshold sessions), I am more able to do so than I was with TrainerRoad. Every few weeks, there are threshold and power profile tests scheduled. I’m unsure how these play out in terms of fine-tuning the various parameters, but as far as I understand it, the system looks at the power profile graph as a whole (or maybe specific points along the chart).

Continue reading
  144 Hits

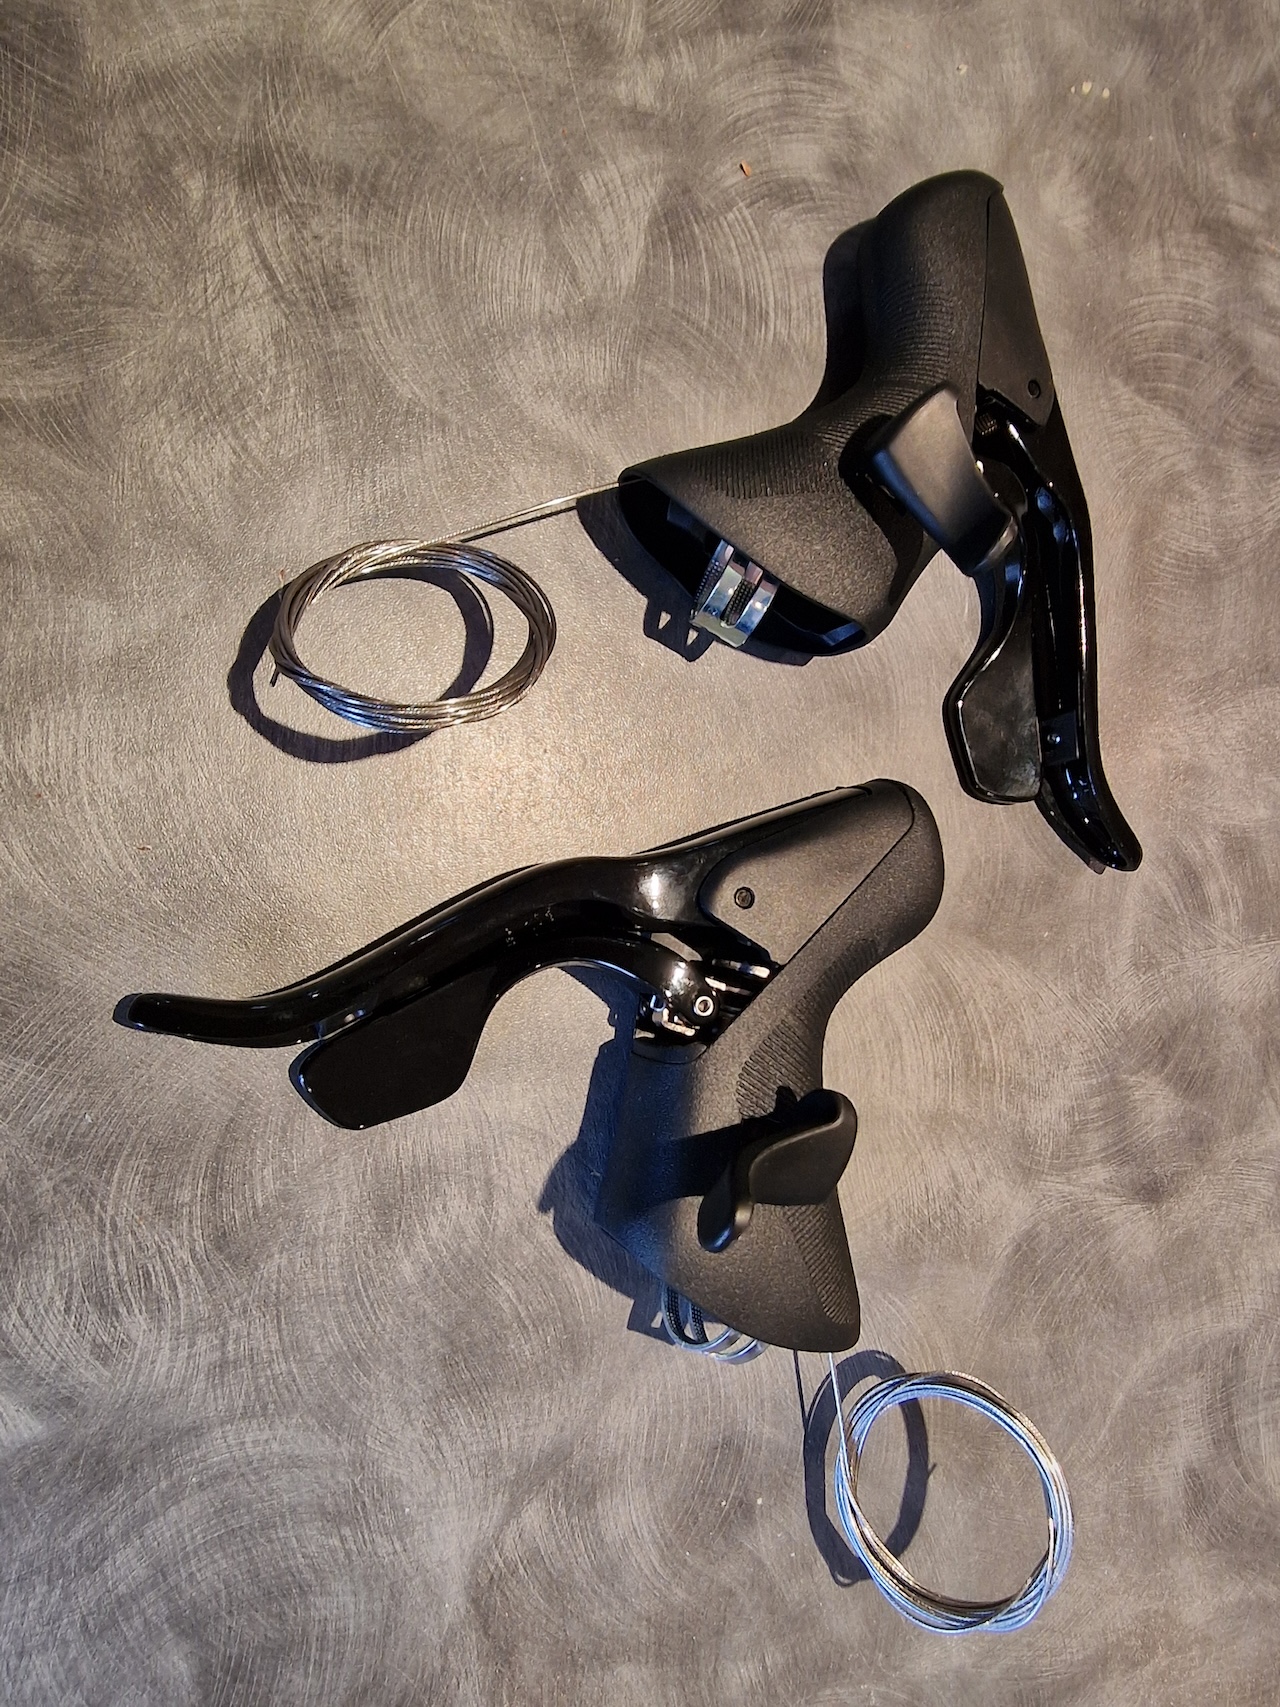
L-TWOO R9 mechanical shifters

When I bought a Tacx Neo 3M trainer, I decided to set my partner's bike up on the old first generation Tacx Neo. It was still pretty functional, if a little noisy, and I thought it might be fun to ride together on a virtual cycling platform. Prior to this, her bike was mounted on an old non-smart Cateye CycleSimulater trainer.

With a switch to a smart trainer and a virtual cycling platform came the need for easy to manage gear shifting. I'd had the bike set up with old Campagnolo 8-speed gears with Ergo-levers. But I had an 11-speed cassette mounted on the Neo trainer. Poking around in my parts bin unearthed a pair of Shimano rear mechs, one 9-speed and one 10-speed, and a bar end shifter that could be set in friction mode. I swapped out the Campagnolo rear mech and installed the 10-speed Shimano mech with the bar end shifter set in friction mode. All was well with that arrangement, except gear shifting was a little inconvenient with the bar end shifter.

Continue reading
  176 Hits

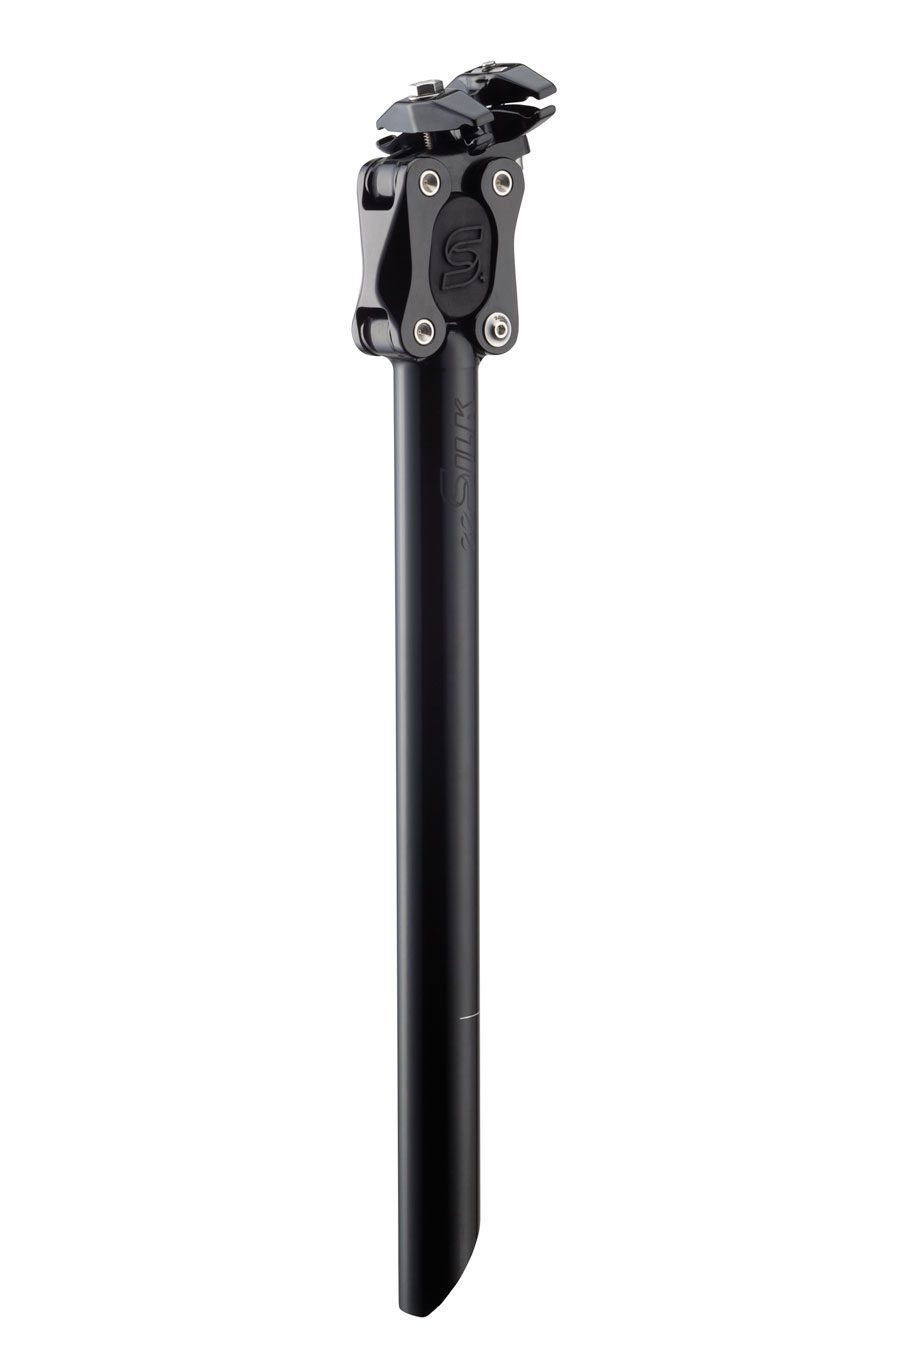
Cane Creek ee-Silk+ suspension seatpost

After our seatpost issue on our spring cycle tour, we switched to our near 30-year old Longstaff tandem. After a few modifications (most notably fitting 32mm tyres), we’ve ridden this tandem exclusively over the summer. One peculiar issue was that after an hour or so riding, there was an irritating clicking sound. We couldn’t quite place it, but it seemed to be associated with a saddle.

We’ve always found it helpful to fit a suspension seatpost on the rear of the tandem, as the stoker can’t always see what’s coming along the road. We have a Cane Creek Thudbuster on the Thorn touring tandem (it was the non-suspension post that snapped) and we had an ancient ITM suspension post on the Longstaff tandem. I can’t personally vouch for the effectiveness of suspension posts, I’m not actually the user - I’m relying on feeback from my stoker on these matters of comfort.

Continue reading
  113 Hits

Am I becoming a bike luddite?

I’ve generally gone with advances in bike technology as they’ve developed over the years. Mostly these have represented refinements in existing technology, such as the steady creep in gear numbers from 5 speed freewheels (when I was cycling to school as a teenager) through to 12 speed cassette hubs. In mechanical gears, I’ve usually been able to keep abreast of which cassette spacing would work with what combination of shifters and gear mechs.

All that began to change as we moved into combined brake/gear levers (STI from Shimano and Ergopower from Campagnolo).

Continue reading
  114 Hits

Athletica.ai review part 2 (weeks 3-6)

Well, I’m about 6 weeks in to my Athletica.ai subscription. So far it’s been pretty impressive, and here are some observations.

I’m seeing a kind of regularity between each week’s workouts. Generally speaking, there’s a sweetspot workout, a strength/endurance trainer workout, a short interval HIIT workout and a threshold workout. These are supplemented by one or two longer endurance workouts, which I generally try to do outdoors.

Continue reading
  229 Hits

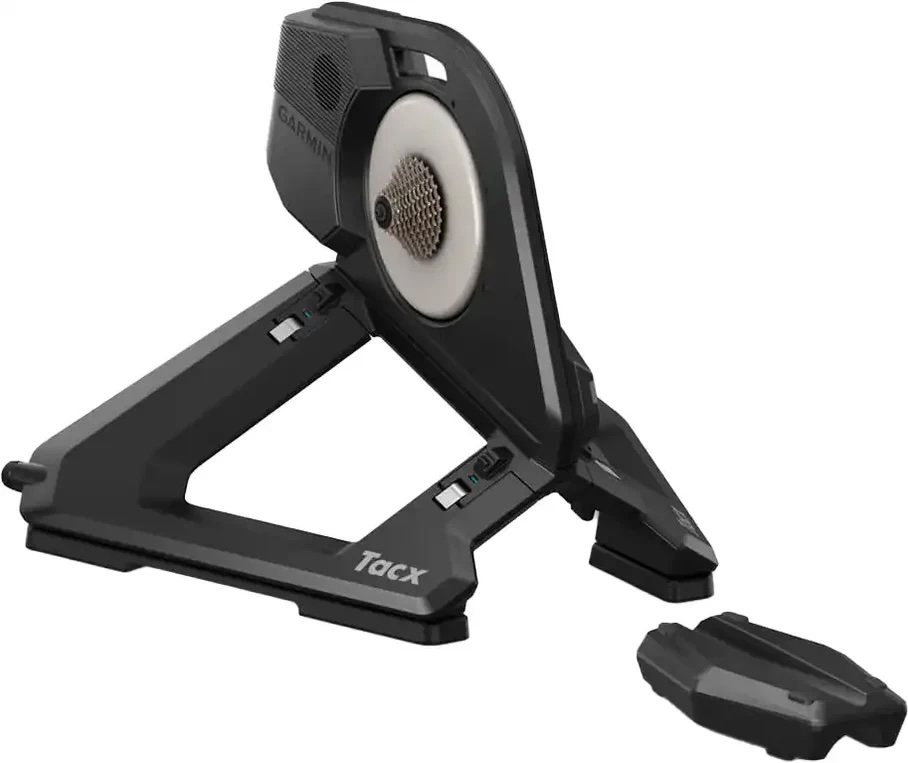
A new trainer - Tacx NEO 3M

The last time I bought a smart trainer, I plumped for a Tacx Neo. It’s a beast of a trainer that has stood up to the rigours of my indoor training pretty well in the 8 years plus I have it. Garmin Connect records that it has been used for 2665 rides (covering 92,968.4km) since 28 July 2016.

My usage stepped up after Covid struck in spring 2020, and once I’d recovered sufficiently from my early (and so far only) bout of Covid, I enlisted in Zwift, and pretty quickly was bookending my working day (working from home) with Zwift rides. At the outset, the first generation Tacx Neo was robust, and pretty silent. The internet seemed awash with tales of technical issues with these trainers, but mine has been pretty much faultless over the years.

Continue reading
  356 Hits

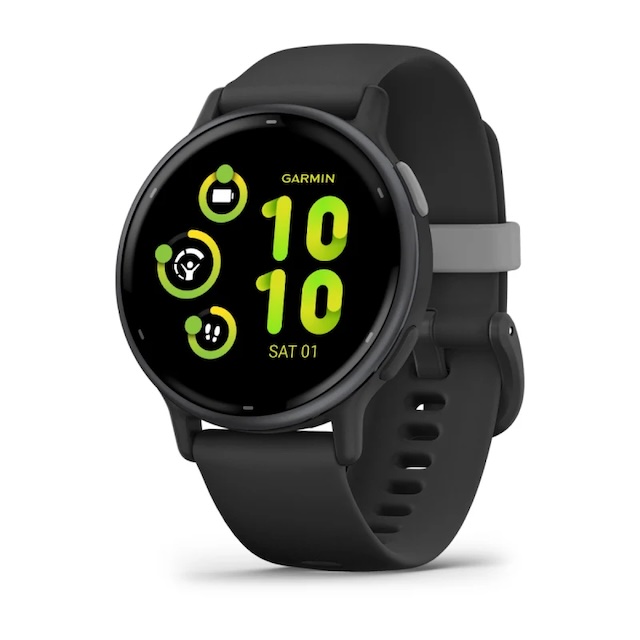
Moving further into the Garmin ecosystem

For years now I've kept myself from being too aligned in one tech ecosystem. For example, my main computer is a MacBook but my phone is an Android device. I've used Garmin bike computers for years now (since the Edge 500), but have always used Polar wristwatches. I measure weight on a digital (but not network aware) scale and blood pressure on a Withings unit.

My time trial bikes have Shimano cassettes matched with Campagnolo chainsets, SRAM chains and 11-speed SRAM Red eTap gearing. Oh, and for good measure they have Magura hydraulic rim brakes!

Continue reading
  257 Hits

Athletica AI Coaching review - Part 1 (weeks 1-2)

A bit of background on my online training

Over the last 25 years or so I've found that indoor training is the key to improving my fitness and performance in time trials. Away from the vagaries of dealing with terrain and motor traffic, I can focus on the workout rather than survival. 25 years ago, power meters weren't readily available, and one's focus was on heart rate as a measure of exercise intensity. Indoor trainers offered adjustable resistance, but little else. In those days I found the structured plan in Pete Read's The Annual Manual (the Black Book), which presented a month by month plan for training on an indoor trainer, to be highly effective.

Continue reading
  354 Hits

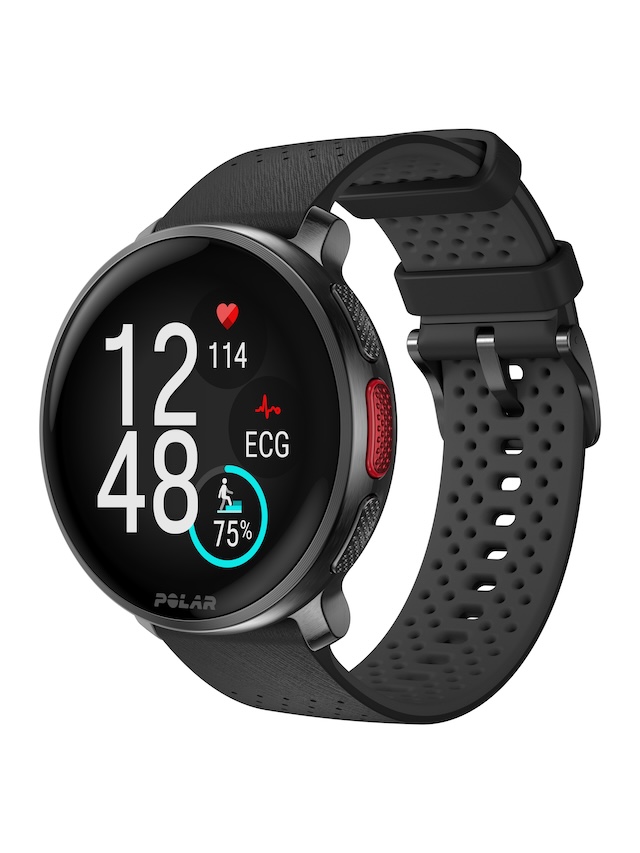
Tiny phone for bike use

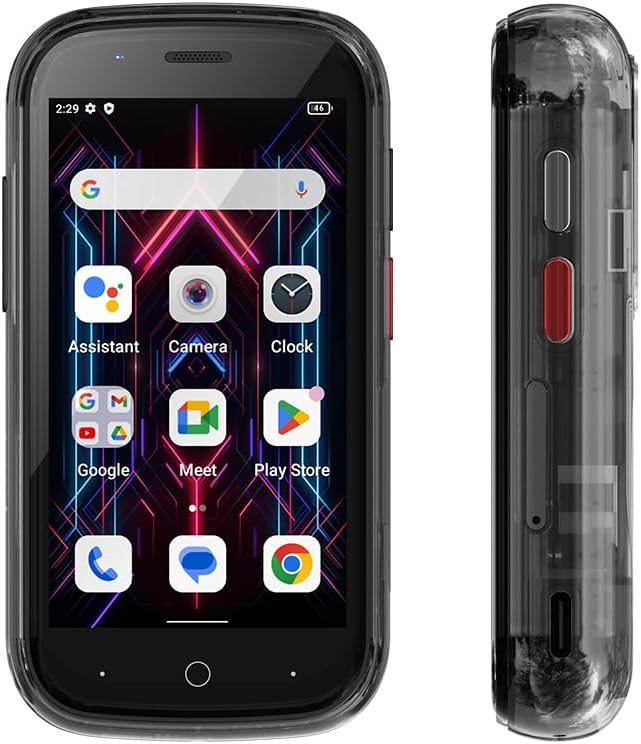
I’ve increasingly felt the need to carry a mobile phone while out on the bike, and particularly when out on the time trial bike. This is for two reasons - firstly the potential need in the event of a mechanical I cannot sort out and secondly because there are functions I use on my Garmin Edge 840 computer that require a mobile phone.

Problem is that mobile phones have got bigger and bigger and my current phone, a Samsung model, is really a bit unwieldy for carrying, even in a jersey pocket. And when wearing a skin suit, the only real solution I’ve found is to carry it in a sealed case and hang it round my neck on a lanyard. That’s pretty uncomfortable!

Continue reading
  307 Hits

Logitech announces termination of mysqueezebox.com - consternation ensues!

I've posted in the past about the Squeezebox network music players, most recently owned by Logitech until discontinued in August 2012. These devices require a network connection to a server - either an instance of Logitech Media Server (LMS), running on the local network, or the Logitech-provides server at mysqueezebox.com (MSB). The two server systems do have functional overlap which does cause confusion in the user base, of which more later. However, on 25th January 2024 the announcement was made via the support forum that the MSB service would be terminated in February 2024.

  700 Hits

Volumio Music Streamer

Nice elegant software for a Raspberry Pi-based music streamer, easily installed and with a terrific interface and robust performance, but let down by its approach to using tags and browsing options.

I recently had a play with the Volumio music streamer. First, I ought to be clear that I am a long-time user of the Logitech Media Server audio streaming system (LMS) which, despite the Squeezebox players being discontinued by Logitech back in around 2013, is still being maintained. Because I’m most used to how LMS works, I use this as the base for my comparisons.

Continue reading
  269 Hits

iPod Nano repair

A few years ago, I obtained a 6th Generation iPod Nano by virtue of a product recall (the 1st Gen nano had a battery problem). I've used the replacement iPod far more than the 1st Gen version, so I was a bit dismayed when the power button stopped working a month or so ago.Repair via Apple didn't seem terribly worthwhile, so I investigated whether it might be possible to sort this out myself. When the 6th Gen iPod Nano was released, iFixit wrote a teardown guide - there's an astonishing amount of stuff crammed into a tiny case! I found a blog with a description of how to fix the power switch problem, which seems to be relatively common. After a bit of procrastination, I set about attempting the repair.It's not quite clear what the malfunction really is - there's a surface mounted switch (it's the gold coloured circle mentioned in step 7 of the repair instructions), and I guess that something wears out or gets dislodged making it inoperative.I didn't really have the specialised tools needed - I used the plastic lid of a Bic biro pen as a spudger/lever, the tweezers from a Swiss army knife, and the small blade of the knife as a screwdriver. To get in, I used a hairdryer to melt the glue and the knife to lever up the screen. I avoided disconnecting the screen or detaching it completely, and once I had the battery loose, I used a rubber band to hold it to the screen. I noted that of the four screws you remove for the repair, there are three different sizes (all tiny!) - I took a quick photo and labelled it so I knew where they go. I fashioned a small square of plastic to glue to the gold switch with contact adhesive.Too much of the original glue was lost, so I reattached the screen with a contact adhesive using a bulldog clip to hold the screen down while the glue set. The result was a bit messy, and I doubt the unit is waterproof any more. But hey, once I had reassembled the iPod, the switch was working again. Who knows how long for...

Tags:
  259 Hits

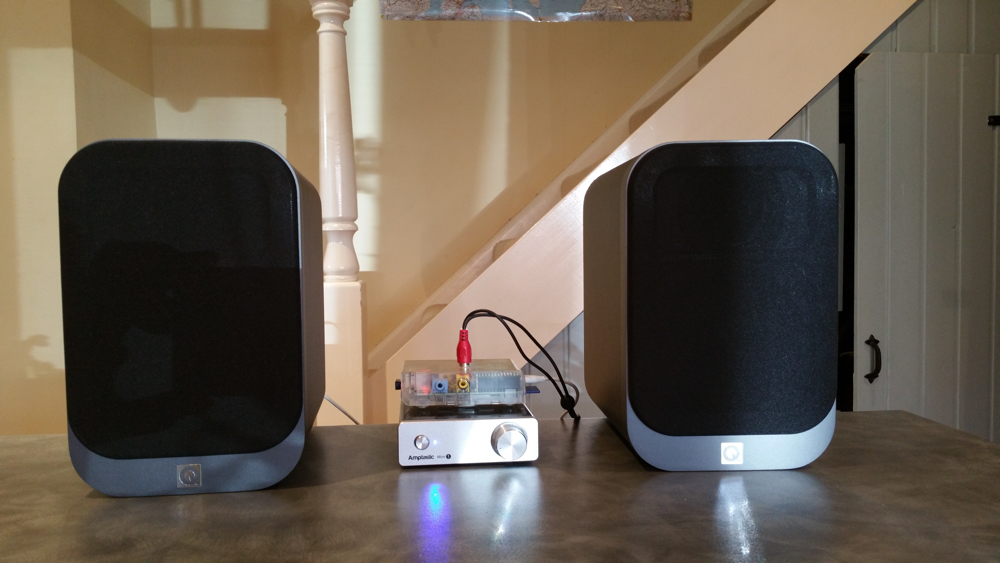
Mini HiFi

I have posted before now about the excellent Squeezebox streaming audio system from Logitech that is sadly now discontinued. Since Logitech knocked their line of Squeezebox players on the head, the system seems to continue flourishing, thanks to the open source nature of the server software.

Most recently, the BBC decided to implement a very poorly publicised change to the internet streams of live and listen again radio programmes (see, for example, this blog post).  Within days users of the Logitech Server had access to these streams restored, thanks to the efforts of developers who post on the forums. In contrast, users of just about every internet radio on the market and other streaming systems such as Sonos have to make do with pretty low resolution mp3 streams (and these are not a long term solution).

Continue reading
Tags:
  262 Hits

Samsung Galaxy Note Pro 12.2 - the return of the stylus

So far, I have owned and used iPads (first generation iPad, third generation iPad and a first generation iPad mini for work). I posted previously about my search for a usable stylus for iPad (Smartphones, tablets and styli). This was pretty much unsuccessful: iPad styli were always inadequately precise, either because they had a rubber blob of a tip that mimicked a fingertip, or because the bluetooth system used wasn't precise enough.A couple of years ago, I made my belated entry to the smartphone market, with a Samsung Galaxy Note 2 (I recently updated to a Galaxy Note 4). This device comes with the S Pen, an interesting device that gives a really good screen response when writing. Coupled with excellent handwriting conversion, this meant that text entry by scribbling on the screen was a realistic proposition. Here's a good description of how the S Pen works. Essentially, from that site:

An electromagnetic field is generated from a circuit behind the screen. The S Pen picks this up and uses it to power itself and figure out its position relative to the screen. It sends this, along with information from the S Pen button and the nib at the end, back to the Note.
At that point, it was abundantly clear that my next tablet purchase was likely to be a Samsung Note device. And on a recent visit to a department store I had a little play with a Samsung Galaxy Note Pro 12.2 tablet - and my partner bought one. After a weekend of seeing this device in action, I bought one too - reduced in price to £324. Anyway, for me (and the work I do) this is an iPad killer - for example:
  • Bigger screen, at a very decent resolution
  • Android 4.4.2 (this is like climbing over the wall of the Apple prison)
  • The S pen, which offers realistic sketch pad and handwriting recognition
  • Easier file transfer to and from the device than iTunes allows
  • Ability to add to the 32Gb onboard memory - I added a 64Gb card
  • Most of the apps I use on the iPad are also available on the Galaxy, and those that aren't have perfectly good alternatives
  • You can run up to 4 apps simultaneously onscreen.
This is basically a power user's tablet, and I really can't fault it. But it's the S Pen that really sells it to me. Here's a very detailed review dating from March last year, when the beast retailed at about £649. I think it's a pretty accurate review. I doubt I'd have been keen to cough up £649, but at £324 this seemed a great deal - I presume the discounted price means it's either discontinued or a new model is due shortly.

Tags:
  227 Hits

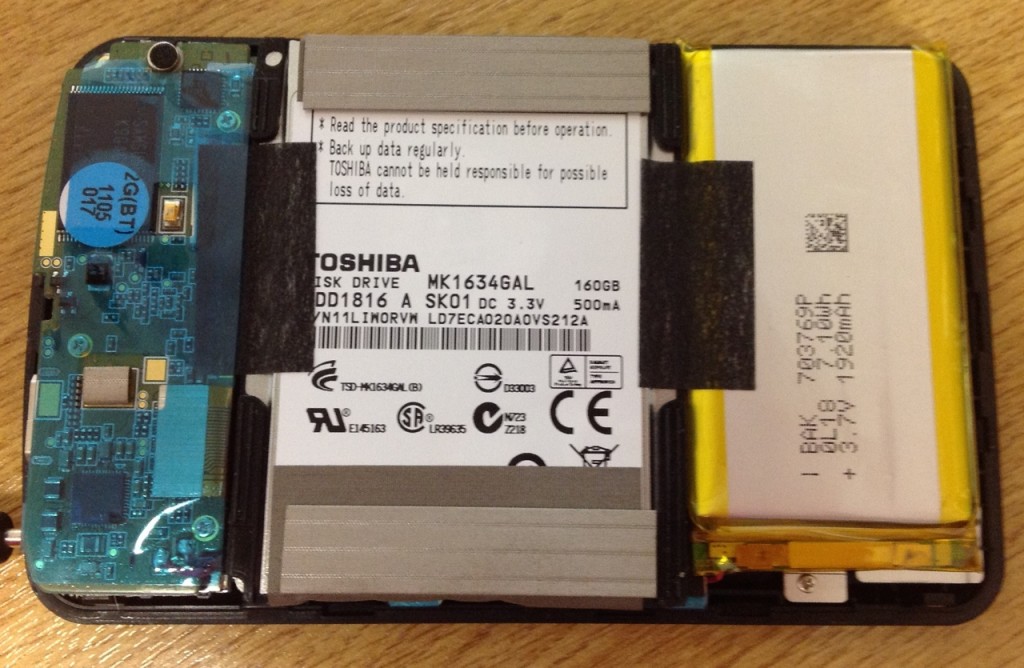
Bizarre design flaw in the Cowon X7 media player?

After Apple replaced my 2 gigabyte first generation iPod Nano with a nifty little 8Gb sixth generation model (due to a product recall), I found myself using that in preference to my Cowon X7, even though the latter has 160Gb storage. The consequence of this is that I allowed the X7 to completely discharge.

No problem, I thought, just charge it up again. But no! Things are not that simple. It transpires that the Cowon firmware doesn’t take kindly to a fully discharged battery, and won’t let it charge. I did a spot of Googling, and discovered a suggested solution - to connect it to the charger for a long period - 100h was mentioned.

Continue reading
Tags:
  300 Hits

Rune Audio media player

I’m always interested in tinkering with alternative audio usage of my Raspberry Pi devices. As standard, I’m using them as Squeezebox substitutes, running the minimalist OS piCorePlayer, though I’ve also tried Squeezeplug and Raspbian for this. Rune Audio, which I think is derived from RaspyFi as a fork at the time RaspyFi became Volumio (though I may have that the wrong way round), recently released a version 0.3 beta for the Raspberry Pi, so (being naturally curious) I decided to try it out.

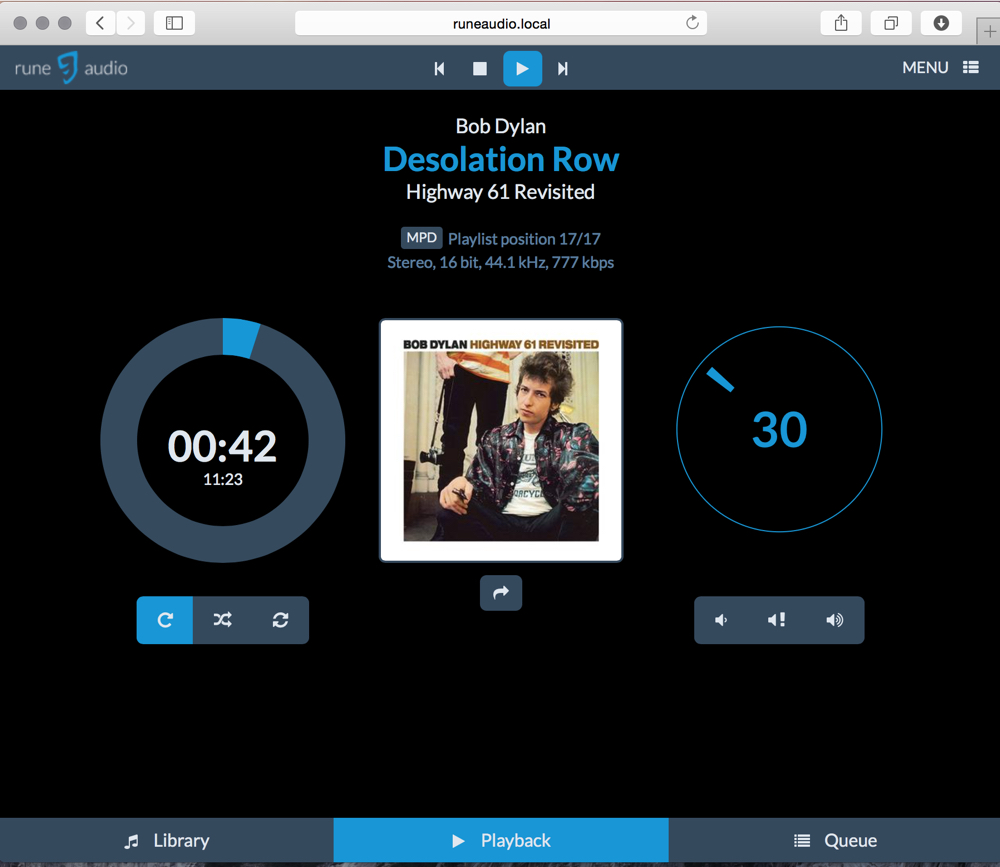
[caption id="attachment_3345" align="alignnone" width="1000"] Runeaudio's UI is elegant, clear and simple[/caption]

Rune Audio is managed via a web browser. The picture above shows what the main interface looks like. The bar at the bottom allows you to switch from Library to Playback or Queue (pretty self-evident what those are). Image art is centre stage, with the progress wheel on it's left (big number is elapsed time, smaller is track length), while on the right is the software volume control. The play controls are a little counter-intuitive - this is a screengrab while a track is playing, and I would have expected the play symbol to have been replaced with a pause symbol. Finally, the Menu link at top right is where you access most of the setup functions.

Continue reading
Tags:
  308 Hits

Using a Raspberry Pi as a Squeezebox

I have recently been playing around with using Raspberry Pi devices as streaming music players within a Squeezebox-based system. I've arrived at quite a comprehensive arrangement, which includes a Pi as a player:This is a rough illustration of my current implementation of a network of Squeezebox players linked to a NAS (GrumpyBox) running Logitech Media Server (LMS). It consists of several Logitech Squeezeboxes, a couple of iPads that are playback-capable through apps such as SqueezePad and iPeng, and the software Squeezebox emulater, SqueezePlay. To this I have recently added a Raspberry Pi running piCorePlayer. I also have a second Raspberry Pi running Squeezeplug, which has its own instance of LMS (not shown in the diagram).I've summarised the usage cases of the three setups I have tried in the table below. My opinion can be summarised as:

  • If all you want to do is run a media player connected to an existing LMS, choose the piCorePlayer option.
  • If you need to set up a media server as well as a player, choose the Squeezeplug option.
  • By far the most versatile of the two DAC cards I've tried is the Wolfson DAC - if you want to use this, then Squeezeplug or the custom Wolfson kernel options are best.
  • Both Squeezeplug and piCorePlayer work well with USB DACs
SqueezeplugpiCorePlayerWolfson kernel
URLwebsitewebsitewebsite
UsageConvenient low cost LMS server and playerLow cost and easy to use player. Configured via web interface.Wolfson supply a patched image supporting the DAC. Squeezelite can easily be installed and configured
LMSyesnono
GuideSqueezeplug wikiI also described this installation here. Instructions at the piCorePlayer website I described this here
Wolfson DAC supportednot supportedsupported
HiFiBerrysupportedsupported
Notes

1, 4

2, 3

  1. May require powered USB hub if a USB-powered hard drive is used with LMS
  2. piCorePlayer is run solely from RAM. The Pi can be powered off without corrupting the SD card
  3. Also supports the Sabre DAC and the HiFiBerryDigi card though I’ve not tried these
  4. I set up a script for a button press to shutdown the Squeezeplug (and the Wolfson kernel) systems so the Pi can be safely powered down. See here.
For both the Raspberry Pi based devices I use, you do need to think about how you interact with them. I use the LMS web interface (usually found at http://IPaddress:9000) with a laptop, or one of the many tablet or smartphone apps that are available (such as the afore-mentioned SqueezePad and iPeng).Installing any of these devices is much easier if you have a reasonable amount of experience with the Linux command line. On the other hand, a Raspberry Pi is a pretty good way to learn the Linux command line! 

  352 Hits

A Second Raspberry Pi Squeezebox

In my first foray into Raspberry PI, I set one up as a Squeezebox networked music player using piCorePlayer - this one has a HiFiBerry DAC card and is remarkably easy to use - to switch it on or off you just plug in or unplug the power respectively. For the new project, I wanted to try the new Wolfson DAC card from Element 14, particularly as I was getting occasional crackles and pops from the USB output in Raspian. This DAC isn’t currently supported by piCorePlayer, so I was keen to take a different route.I ended up with a media player that didn’t have an obvious way of shutting it down, other than via the command line. So I wanted to figure out how to add a pushbutton that would shut the Pi down to state in which it can be powered down.

Installing the Wolfson DAC

Installing the Wolfson DAC card is pretty straightforward. It uses a set of sprung connectors to conenct to the P5 header of the Raspberry Pi, pushes on to the P1 header and fixes in place with a plastic screw. The screw is important to make sure the connectors are held against the P5. I didn’t bother with trying to set the DAC up with a stock Raspbian OS - Element 14 have an image file of a modified Raspbian with all modules etc set up from the get-go. It can be downloaded from here, though I found that the file wouldn’t unzip on my Mac, unless I used Keka, a third party archiver utility available from the App Store. There’s some discussion on the Element 14 discussion forums about the unzipping problem.I set up wifi and installed squeezelite as described in this tutorial - all pretty straightforward as I have a fair bit of Linux experience. I’m using an unbranded wifi USB stick that steadfastly refused to work with piCorePlayer - but it seems fine in Raspbian.In use, the Pi starts squeezelite when it boots, and it’s then visible to the LMS web interface and other squeezebox control apps such as SqueezePad and iPeng. I was using a terminal to shut the Pi down via the command line before powering down. This seemed less than ideal, so I investigated setting up a ‘shutdown’ push button switch for an easier and more orderly shutdown.

 3 Pin Header on the Wolfson DAC

The Wolfson DAC pretty much covers the main set of header pins, and makes three of these available via a three pin header on the card (referred in this thread).

Wolfson_Card_J8-1:RPI_TX  ->  RPi: P1-08 - TXD0 (ALT0) - GPIO14Wolfson_Card_J8-2:RPI_RX  ->  RPi: P1-10 - RXD0 (ALT0) - GPIO15Wolfson_Card_J8-3:GND

[caption id="attachment_2527" align="alignleft" width="400"] The J8 Header[/caption](GPIO14 is the pin closest to the edge of the DAC card, and GND is the one furthest from the edge). I connected a pushbutton switch on a breadboard to GPIO14 and GND for testing purposes.

Setting up the shutdown script.

Bearing in mind I’d never done any prior work with hardware interfaces, and never done any python work, this proved an interesting exercise!First, I installed RPi-GPIO:
sudo apt-get updatesudo apt-get -y install python-rpi.gpio
I don’t recall installing the time and os Python modules, so I assume they are there by default. I copied the shutdown code (from here) and saved as /home/pi/scripts/shutdown2.py. Note that the comment lines indicate sources - all I had to do was to edit the pin numbers from the original to use Pin 14.
# This script will wait for a button to be pressed and then shutdown
# the Raspberry Pi.
# http://kampis-elektroecke.de/?page_id=3740
# http://raspi.tv/2013/how-to-use-interrupts-with-python-on-the-raspberry-pi-and-rpi-gpio
# https://pypi.python.org/pypi/RPi.GPIO
 import RPi.GPIO as GPIO
import time
import os
 # we will use the pin numbering of the SoC, so our pin numbers in the code are
# the same as the pin numbers on the gpio headers
GPIO.setmode(GPIO.BCM)
 # Pin 14 will be input and will have its pull up resistor activated
# so we only need to connect a button to ground
GPIO.setup(14, GPIO.IN, pull_up_down = GPIO.PUD_UP)
# ISR: if our button is pressed, we will have a falling edge on pin 14
# this will trigger this interrupt:
def Int_shutdown(channel):
# shutdown our Raspberry Pi
os.system("sudo shutdown -h now")
# Now we are programming pin 14 as an interrupt input
# it will react on a falling edge and call our interrupt routine "Int_shutdown"
GPIO.add_event_detect(14, GPIO.FALLING, callback = Int_shutdown, bouncetime = 2000)
# do nothing while waiting for button to be pressed
while 1:
        time.sleep(1)
To run the script at startup, I added this line to rc.local:
sudo python /home/pi/scripts/shutdown2.py
One reboot, and voila! My first attempt to use Raspberry Pi GPIO pins was a success! I’ve now soldered the switch to a couple of push-on connectors which fit to the J8 pins 1 and 3 (GPIO14 and GND respectively), so it’s a little fragile in the absence of a proper case! Pressing the shutdown button shuts the system down. I suspect that a reset button connected to Header 6 would re-start the device from that state, but I’ve yet to investigate.I’m presently using this Pi as a small player to drive a pair of headphones - it sounds rather good. Here's a photo of the finished device:[caption id="attachment_2526" align="alignleft" width="1000"] Raspberry Pi with Wolfson DAC (click to enlarge)[/caption]

  220 Hits

HiFiBerry DAC for the Raspberry Pi

I mentioned at the end of my previous blog article on the Raspberry Pi that I had a DAC board in transit. Well it has arrived, I’ve fitted it and after a few trials and tribulations, it is set up and working well.The attraction of having an onboard DAC in the Pi is really one of neatness. It also frees up one of the USB ports that I would otherwise use to feed a USB DAC (for example I can boot the Pi into Squeezeplug, and use the Pi as a Logitech Media Server with Squeezelite as a player). The case that I’m using for the Pi doesn’t really offer a lot of room for manoeuvre when installing additional boards, but in the end I bodged together a neat enough solution.The HiFiBerryThe HiFiBerry DAC is a small printed circuit board about half the area of the main Raspberry Pi board. It attaches to a set of 8 connecting pins - the onboard sound connector P5 - you have to solder an 8-pin header to the Raspberry Pi main board first.I’d ordered the board with two RCA connectors, but no headphone style jack plug. The RCA connectors were three pin sockets, obviously intended to be soldered to the board. It was immediately clear that this would mean the Pi would no longer fit in the case, so I decided to connect the RCAs via wires to the board, and mount the RCAs in the lid of the case. The board came with the GPIO and P5 sockets already soldered.AssemblyStep 1 - I soldered the P5 header to the Raspberry Pi board. This proved pretty easy. The P5 sits right next to the GPIO connectors.Step 2 - I soldered four wires to the output terminals intended to output to a 3.5mm jack. Two from GND to the GND tag of the RCA sockets, and one from the L and R channels to the appropriate tag of the RCA sockets.Step 3 - I drilled two holes in the case lid. I also needed to remove some bits of plastic from what appear to be strengthening ribs in the case lid to allow it to fit over the HiFiBerry board. I fixed the RCA sockets into the holes, which needed a spot of araldite to hold them firm.Step 4 - I mounted the HiFiBerry board on the P5 connector - it also slots onto the GPIO header for added support. The card came with a polythene pillar and screws to further support it in place, so I fitted those.Step 5 - I assembled the case back together, inserted the SD card and booted the Pi.[caption id="attachment_2499" align="aligncenter" width="300"] Upper side of HiFiBerry board[/caption]You can see the wiring I added to connect the RCA sockets to the board. Obviously, the sockets supplied are intended to be soldered to the board in the positions labelled 'Left' and 'Right'.[caption id="attachment_2501" align="aligncenter" width="300"] The underside of the HiFiBerry board[/caption]There's not much to see on this view of the HiFiBerry - other than my soldering, and the two connectors that attach the board to the Raspberry Pi - the board came with these already fitted.Using the piCorePlayer web interface, I selected the option for the HiFBerry DAC, determined the ALSA settings for the HiFiBerry and entered them, and saved the whole setting to the SD card. Then I excitedly hooked up the phono cable to my amplifier, booted the Pi and sat back to listen to the music.Well, I could listen to the right hand channel, but the left channel was sadly absent!A problem!Clearly I’d done something wrong! I referred to the forums on the HiFiBerry site. Most people having this sort of trouble had evidently made minor cockups with soldering, though there were hints that some cards may have been defective. A quick email elicited a rapid response suggesting I check the connectors for evidence of shorting out. I did this, finding no problems. As an aside, I found Daniel at CrazyAudio very responsive and polite in the face of a neophyte solderer asking questions.A little while later, it occurred to me that the two non-ground pins of the RCA connector might not be equivalent - in particular, it wasn't easy to see how they connected within the socket. I plugged in an RCA plug into the L channel socket and used my multimeter to determine if the signal wire from the plug actually made electrical contact with the tag to which I’d soldered the wire from the board. It didn’t, so after a bit more investigation I detached the wire and soldered it to the third tag of the connector. At this point the Pi was properly outputting audio from both channels!Triumph!So, how does the Pi perform as a media player with the onboard DAC? First impressions are that it compares well with the two external DACs I have available, though both are budget items (a Cambridge Audio DACmagic 100 and DACmagic XS). More on this later, though I'm not really a serious audiophile and I've no way of doing a proper blind test.

Tags:
  318 Hits

piCorePlayer - Squeezebox on a Pi

Adventures in Raspberry Pi LandWhen the Raspberry Pi was announced a few years ago, I was rather attracted by this low power but very flexible educational computer but never bought one until recently, when I fancied having a bit of a play with setting up a Raspberry Pi as a Squeezebox player.After a bit of a sidestep in the ordering, I ended up with the following:

  • One Raspberry Pi Model B, with SD card containing NOOB
  • One USB WiFi USB stick (not the Edimax stick I originally planned - more on this later)
  • One clear plastic case
  • One power supply
piCorePlayer installationThe SD card that came with the Raspberry Pi had the NOOB collection of operating systems. However, I began by overwriting the SD card with the piCorePlayer 1.12a image. I connected the Raspberry Pi to my router with an ethernet cable, and booted it up. Booting piCorePlayer takes only a few seconds. Connecting vis SSH was trivial with Terminal on the MacBook. Recent piCorePlayer releases include a rather nifty web page based configuration system, so it really didn't take long to set up the connection to the Logitech Media Server, rename the device, and set up the audio via the spare USB port to a small Cambridge audio DacMagic headphone amp. Here's a quick snap of the device with ethernet connection to the left and power supply to the right with the SD card protruding. You can see the WiFi stick to the left, next to the ethernet connector.So far, so good.PiCorePlayer successfully saw the Wifi network. I entered the SSID and password, but the wifi stick resolutely refused to play ball after a reboot, leaving the device uncontactable except via ethernet. I subsequently investigated reviews of the Wifi stick I'd chosen. Turns out that the thing won't work with piCorePlayer, but will with Raspbian. Ho hum! I then ordered an Edimax device, which I should have done in the first place.In use, the Pi seems to work well, and plays audio robustly, no pops, clicks or other audio artefacts. In its transparent case it looks quite attractive in a 1970s Blake's 7 budget SciFi kind of style, what with the various flickering and flashing LEDs.A couple of days later, the replacement WiFi stick arrived. By this time, piCorePlayer version 1.12c was released. I reflashed the SD card, and repeated the setup routine. I also expanded the second partition to fill the rest of the SD card. This should allow me to install further extensions to piCore. The Edimax WiFi stick does seem to play ball with piCorePlayer, which can now take up residence next to the HiFi. I note that selecting the correct ALSA parameters for the external DAC is important to avoid pops, clicks and other audio degradation. PiCorePlayer's web interface makes setting up the audio (and Wifi) very easy and straightforward.The Pi is hooked up to a Cambridge Audio DACmagic 100, and thence to a Naim Nait3 integrated amplifier and Mission 720 speakers. I also tested it using a Cambridge Audio DACmagic XS DAC/Headphone amp.Next up...I have a HiFi Berry DAC card in transit. I have also soldered up an expansion board for a 2 x 16 LCD display.

Tags:
  270 Hits