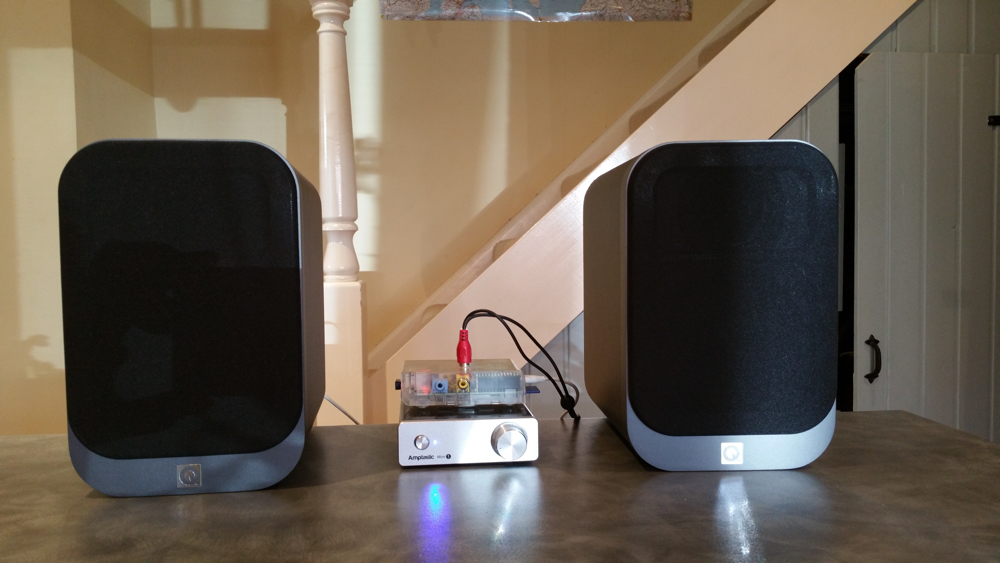
In my first foray into Raspberry PI, I set one up as a Squeezebox networked music player using piCorePlayer - this one has a HiFiBerry DAC card and is remarkably easy to use - to switch it on or off you just plug in or unplug the power respectively. For the new project, I wanted to try the new Wolfson DAC card from Element 14, particularly as I was getting occasional crackles and pops from the USB output in Raspian. This DAC isn’t currently supported by piCorePlayer, so I was keen to take a different route.I ended up with a media player that didn’t have an obvious way of shutting it down, other than via the command line. So I wanted to figure out how to add a pushbutton that would shut the Pi down to state in which it can be powered down.
Installing the Wolfson DAC
Installing the Wolfson DAC card is pretty straightforward. It uses a set of sprung connectors to conenct to the P5 header of the Raspberry Pi, pushes on to the P1 header and fixes in place with a plastic screw. The screw is important to make sure the connectors are held against the P5. I didn’t bother with trying to set the DAC up with a stock Raspbian OS - Element 14 have an image file of a modified Raspbian with all modules etc set up from the get-go. It can be downloaded from
here, though I found that the file wouldn’t unzip on my Mac, unless I used
Keka, a third party archiver utility available from the App Store. There’s some discussion on the
Element 14 discussion forums about the unzipping problem.I set up wifi and installed squeezelite as described in
this tutorial - all pretty straightforward as I have a fair bit of Linux experience. I’m using an unbranded wifi USB stick that steadfastly refused to work with piCorePlayer - but it seems fine in Raspbian.In use, the Pi starts squeezelite when it boots, and it’s then visible to the LMS web interface and other squeezebox control apps such as SqueezePad and iPeng. I was using a terminal to shut the Pi down via the command line before powering down. This seemed less than ideal, so I investigated setting up a ‘shutdown’ push button switch for an easier and more orderly shutdown.
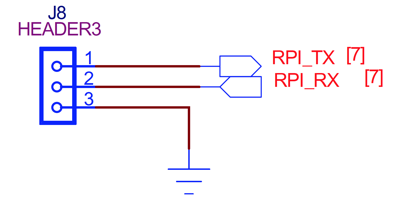
3 Pin Header on the Wolfson DAC
The Wolfson DAC pretty much covers the main set of header pins, and makes three of these available via a three pin header on the card (referred in
this thread).
Wolfson_Card_J8-1:RPI_TX -> RPi: P1-08 - TXD0 (ALT0) - GPIO14Wolfson_Card_J8-2:RPI_RX -> RPi: P1-10 - RXD0 (ALT0) - GPIO15Wolfson_Card_J8-3:GND
[caption id="attachment_2527" align="alignleft" width="400"]
The J8 Header[/caption](GPIO14 is the pin closest to the edge of the DAC card, and GND is the one furthest from the edge). I connected a pushbutton switch on a breadboard to GPIO14 and GND for testing purposes.
Setting up the shutdown script.
Bearing in mind I’d never done any prior work with hardware interfaces, and never done any python work, this proved an interesting exercise!First, I installed RPi-GPIO:
sudo apt-get updatesudo apt-get -y install python-rpi.gpio
I don’t recall installing the time and os Python modules, so I assume they are there by default. I copied the shutdown code (
from here) and saved as /home/pi/scripts/shutdown2.py. Note that the comment lines indicate sources - all I had to do was to edit the pin numbers from the original to use Pin 14.
# This script will wait for a button to be pressed and then shutdown
# the Raspberry Pi.
# http://kampis-elektroecke.de/?page_id=3740
# http://raspi.tv/2013/how-to-use-interrupts-with-python-on-the-raspberry-pi-and-rpi-gpio
# https://pypi.python.org/pypi/RPi.GPIO
import RPi.GPIO as GPIO
import time
import os
# we will use the pin numbering of the SoC, so our pin numbers in the code are
# the same as the pin numbers on the gpio headers
GPIO.setmode(GPIO.BCM)
# Pin 14 will be input and will have its pull up resistor activated
# so we only need to connect a button to ground
GPIO.setup(14, GPIO.IN, pull_up_down = GPIO.PUD_UP)
# ISR: if our button is pressed, we will have a falling edge on pin 14
# this will trigger this interrupt:
def Int_shutdown(channel):
# shutdown our Raspberry Pi
os.system("sudo shutdown -h now")# Now we are programming pin 14 as an interrupt input
# it will react on a falling edge and call our interrupt routine "Int_shutdown"
GPIO.add_event_detect(14, GPIO.FALLING, callback = Int_shutdown, bouncetime = 2000)
# do nothing while waiting for button to be pressed
while 1:
time.sleep(1)
To run the script at startup, I added this line to rc.local:
sudo python /home/pi/scripts/shutdown2.py
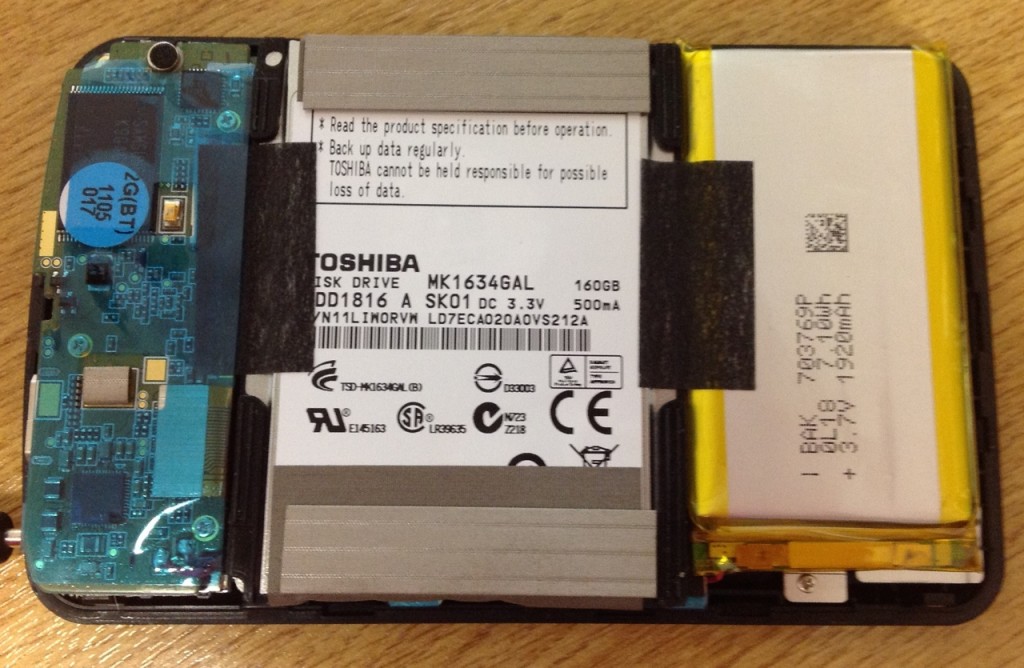
One reboot, and voila! My first attempt to use Raspberry Pi GPIO pins was a success! I’ve now soldered the switch to a couple of push-on connectors which fit to the J8 pins 1 and 3 (GPIO14 and GND respectively), so it’s a little fragile in the absence of a proper case! Pressing the shutdown button shuts the system down. I suspect that a reset button connected to Header 6 would re-start the device from that state, but I’ve yet to investigate.I’m presently using this Pi as a small player to drive a pair of headphones - it sounds rather good. Here's a photo of the finished device:[caption id="attachment_2526" align="alignleft" width="1000"]
Raspberry Pi with Wolfson DAC (click to enlarge)[/caption]

